Welcome to Cosme Tech 2016, the
Tsubame City, Niigata Prefecture, which is called “Craftsman Town, Tsubame”, is a town that has prospered as an industrial city, boasting a global share in the production of Western tableware.
In 2008, the Niigata Factory was established there.
In 2012, a new factory with 1,312 tsubo of land and a total floor area of 979 tsubo was established and relocated. In July 2014, we acquired ISO9001.
Unicontrols will continue to provide high-quality products more quickly by making use of the technology and know-how that have been passed down.
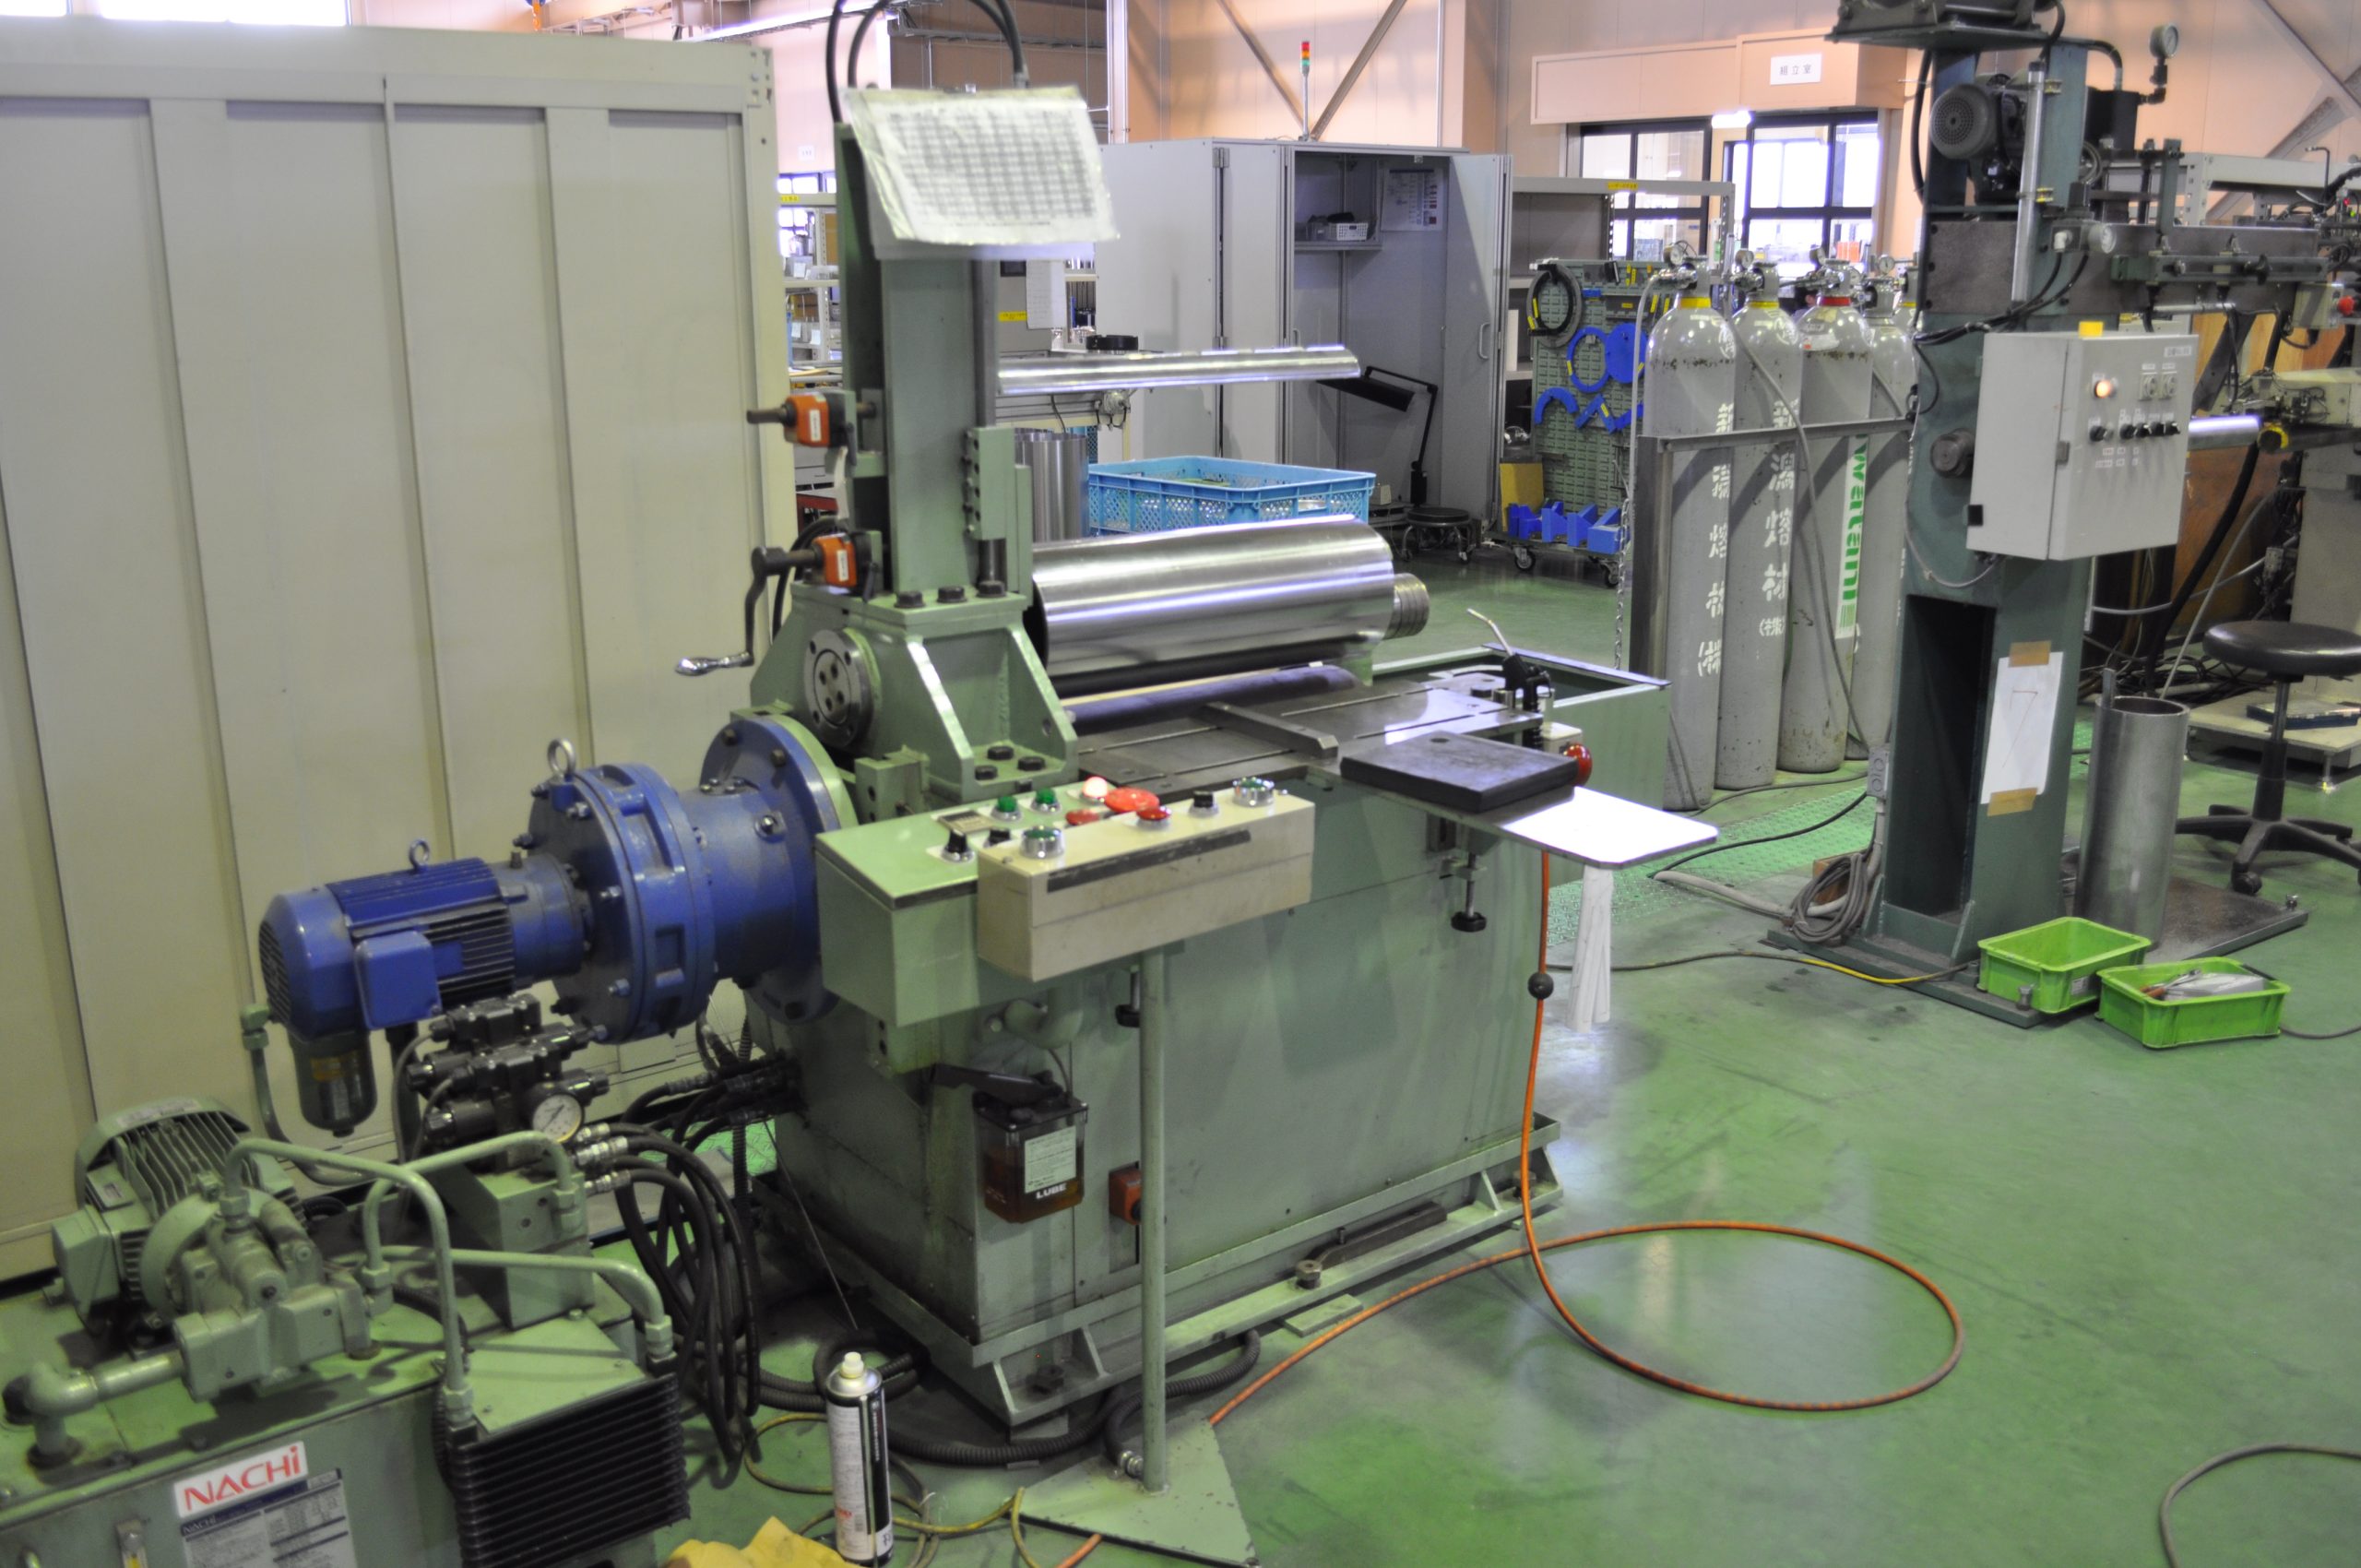
A machine that winds the tank body into a cylindrical shape. The roller part is made of urethane, which makes it possible to easily bend the edge (R processing of the edge of the plate), which is impossible with steel rolls, and to roll it to a near-perfect circle. Another feature is that the workpiece is less likely to be scratched or dented.
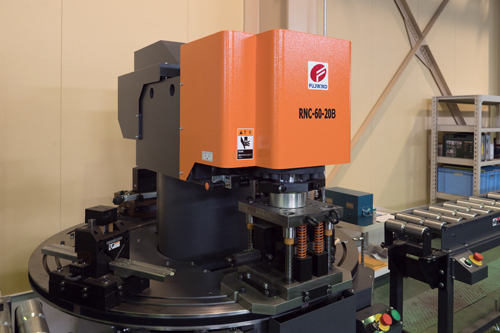
A press that cuts angles and flat bars up to stainless steel (thickness 6 mm) with a force of 60 tons. The mold is a rotating type, and the work time is greatly reduced compared to metal saws. Also, since it is an NC machine, it is easy to obtain dimensions.
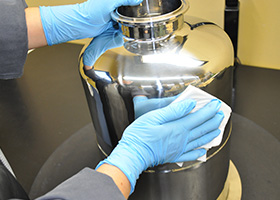
The buff powder due to buff polishing is cleaned. After cleaning, the tank is wiped using alcohol.
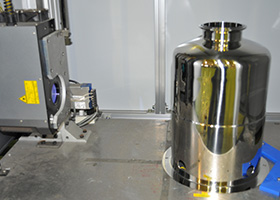
We can do laser marking upon customer’s request. We can do various format of laser marking such as kanji, QR code, English etc.
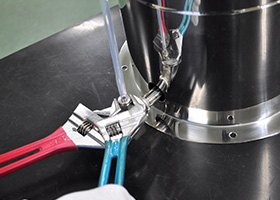
Accessories such as level gauge, drain port, connecting joints are being assembled.After assembly, dimension inspection is carried out based on the drawings.The tank design pressure test inspection is also carried out to ensure that there is no leak from the welded parts and assembled parts.
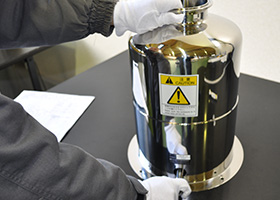
Final inspection is carried out to ensure the tank is as per drawings. The tank is being packed with care to ensure that it is not damaged during delivery.
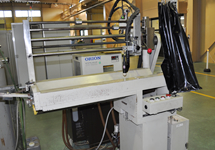
Automatic linear welding machine linked with plasma welding machine. Plasma welding enables Uranami welding of SUS (thickness 4 mm) plates without grooves.
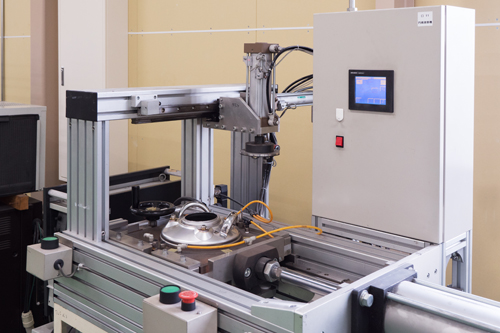
Automatic girth welding machine exclusively for TM tanks. Welding work that is usually done outside is done from the inside of the tank, and Uranami is produced outside to join. Welding is possible with one push after setting.
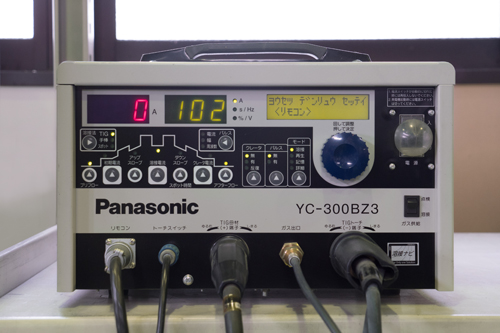
Welding current can be checked and managed with full digital control. Forms a beautiful weld bead unique to TIG welding.
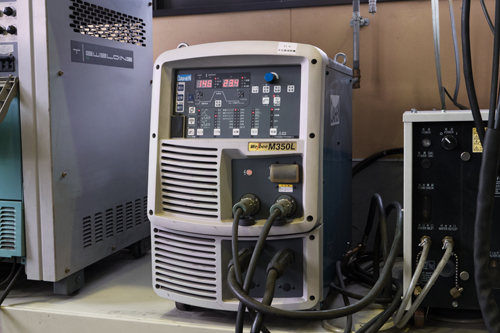
Digital inverter control reduces spatter, which was a disadvantage of MAG/MIG welding, and enables high-quality welding.
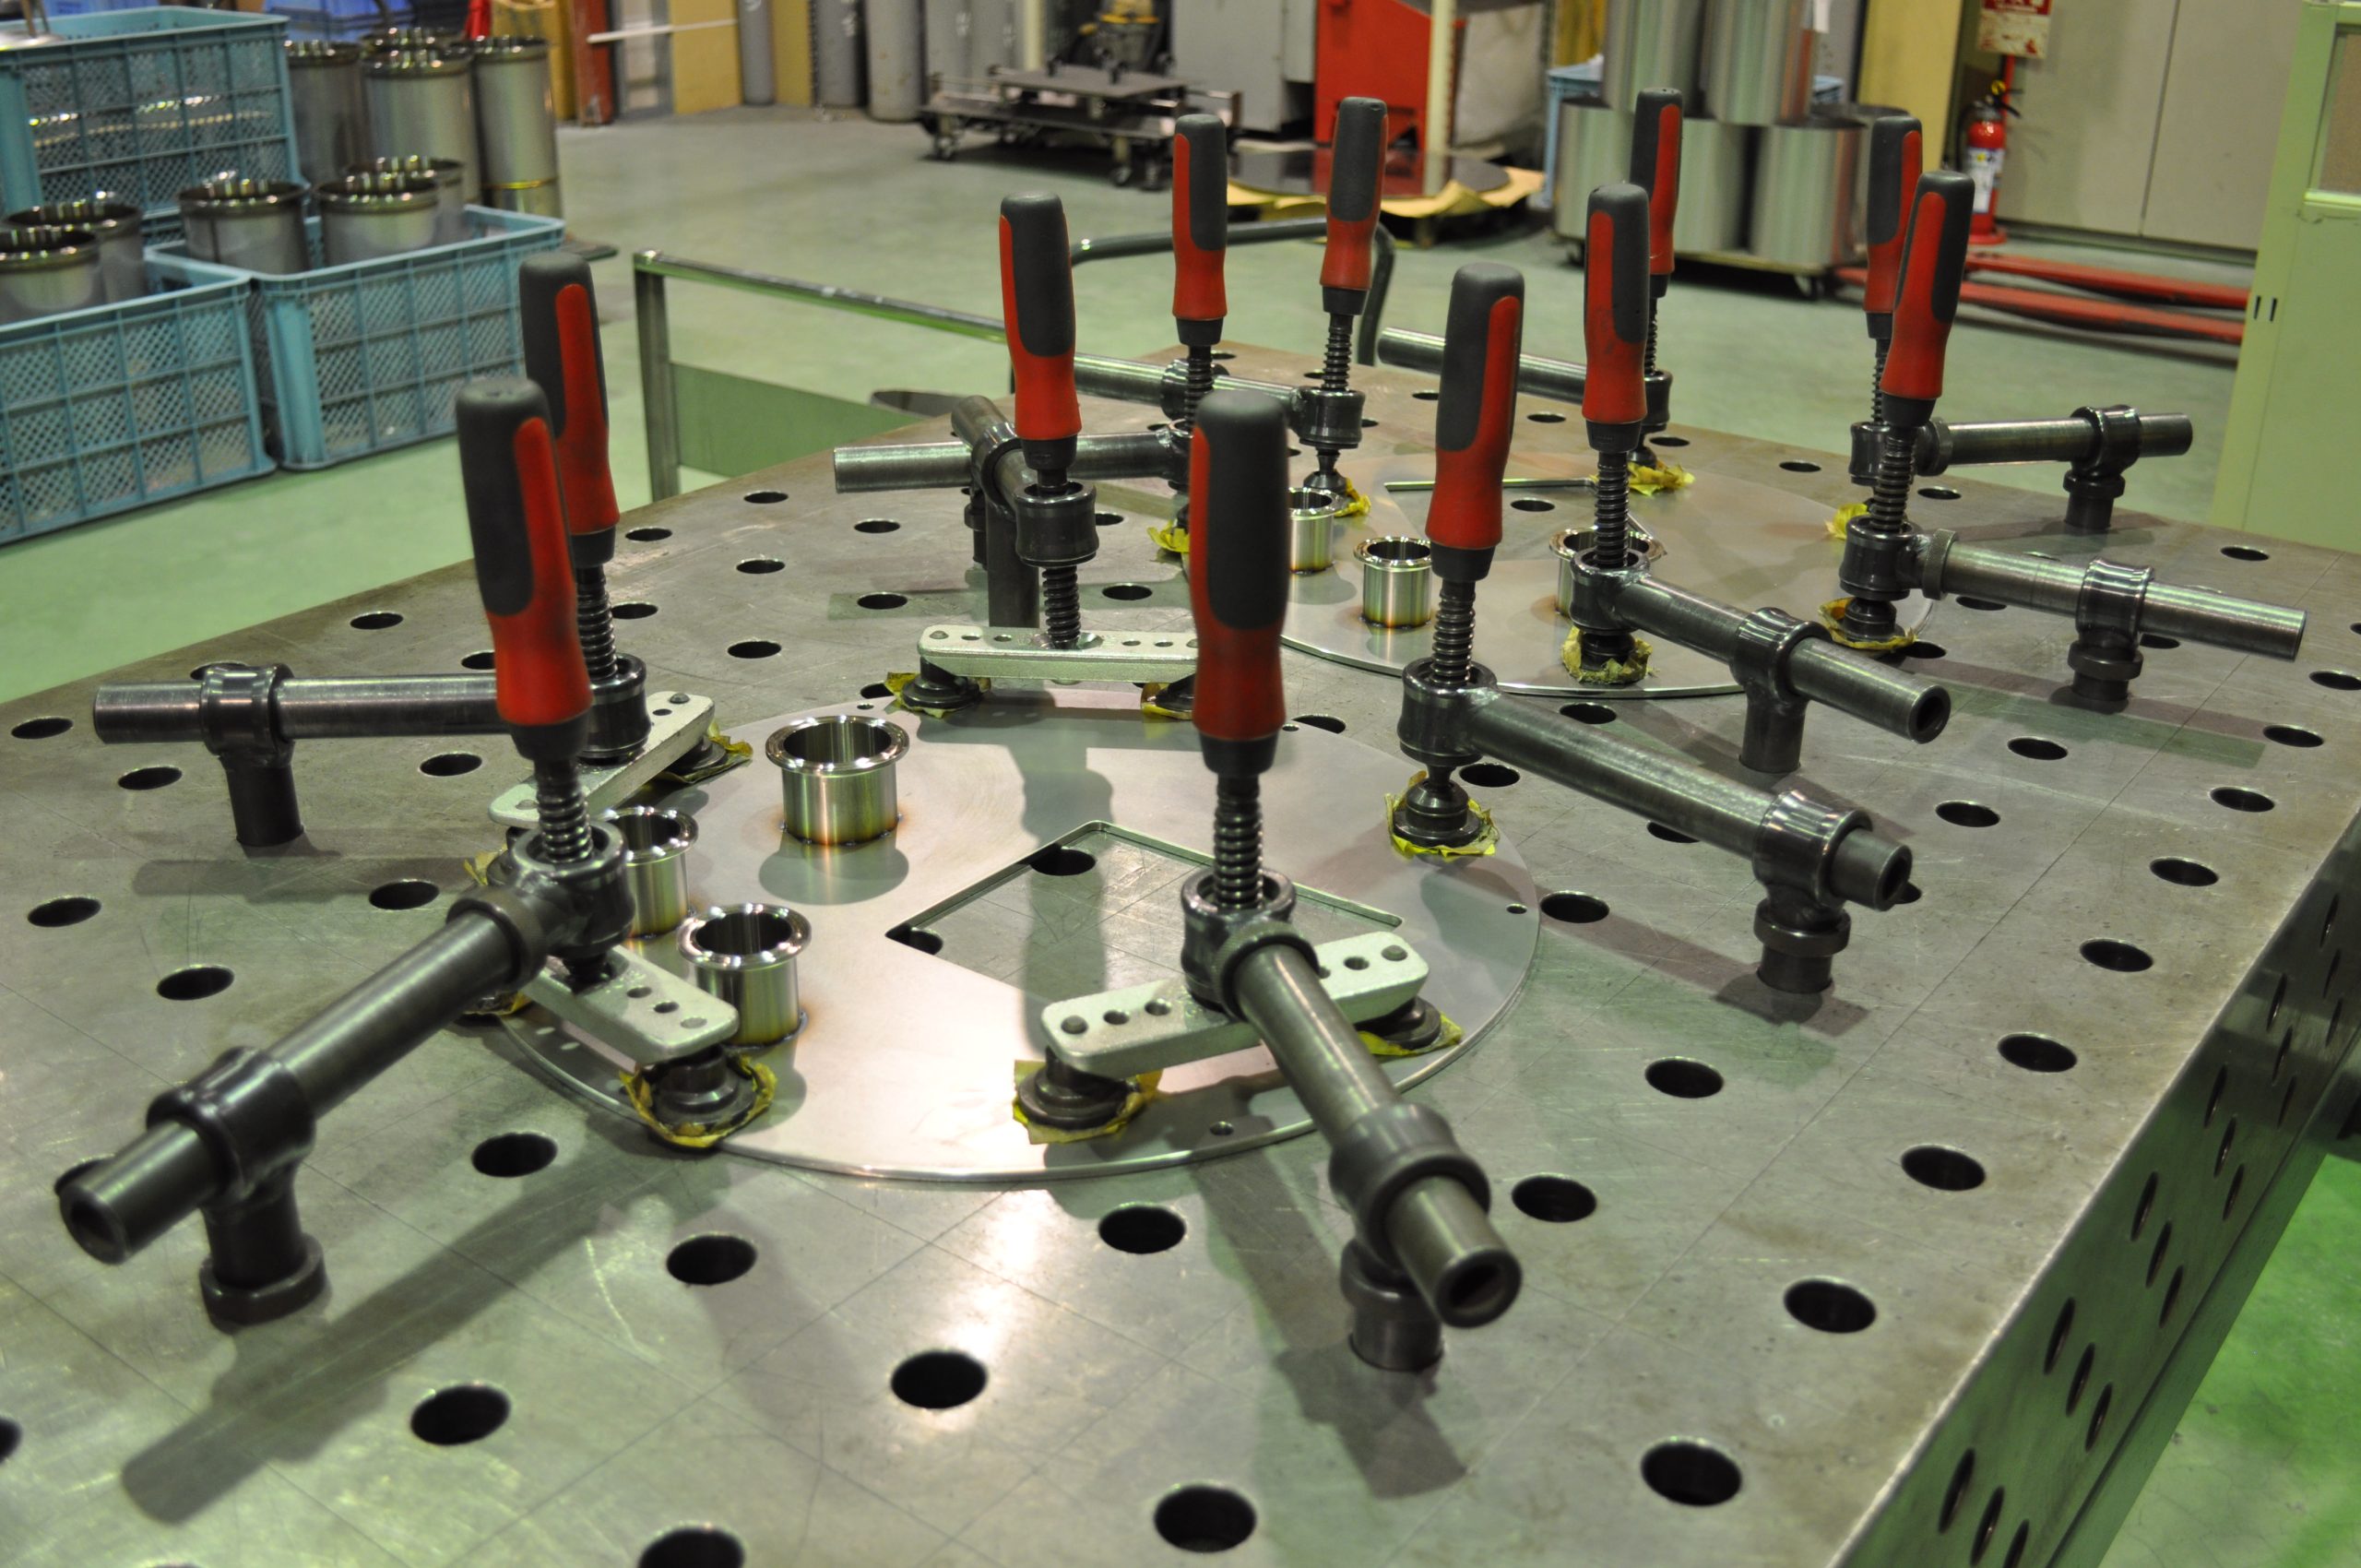
Work table for welding that eliminates metal distortion caused by welding heat. Various restraint jigs are available, and even complex shapes can be restrained. Demonstrates its power as a simple welding jig.
A machine that performs bead cutting and buffing on the inner and outer surfaces of tanks. Buffing can be done more beautifully than hand-held tools.
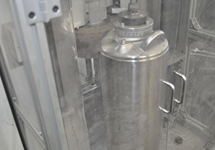
Dedicated tank outer surface hairline automatic machine for all series of TM tanks. After setting, hairline polishing is possible with one push.
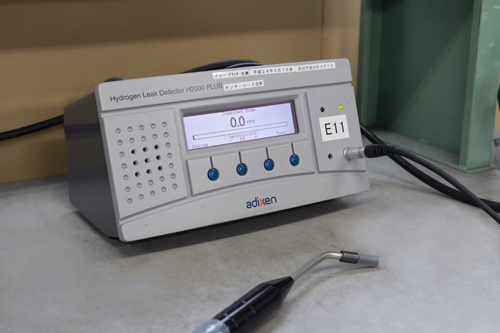
Used for pressurized air tightness inspection. A mixed gas of 95% nitrogen and 5% hydrogen is put into the container and pressurized, and the hydrogen from the leak is measured with a dedicated hydrogen detector. Capable of more advanced airtightness inspection than the submersion method, soapy water method, pressure standing method, and penetration test method. Leakage can be pinpointed.
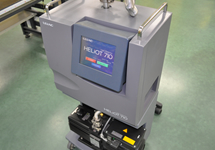
Used for vacuum tightness inspection. Helium gas is blown from the outside while the inside of the container is in a vacuum state, and the amount of helium that enters the container through a minute hole is detected to measure the amount of leakage per second (leak rate).
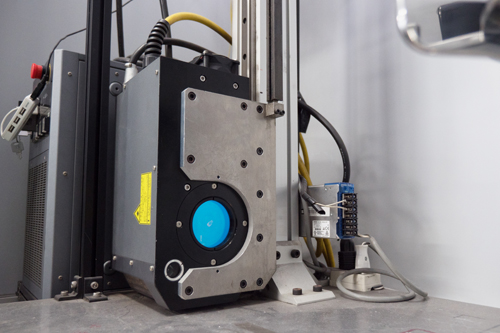
Laser marking is performed on the surface of the tank. It supports various typefaces and logos, and can also print QR codes, etc., which is useful for users' product management.
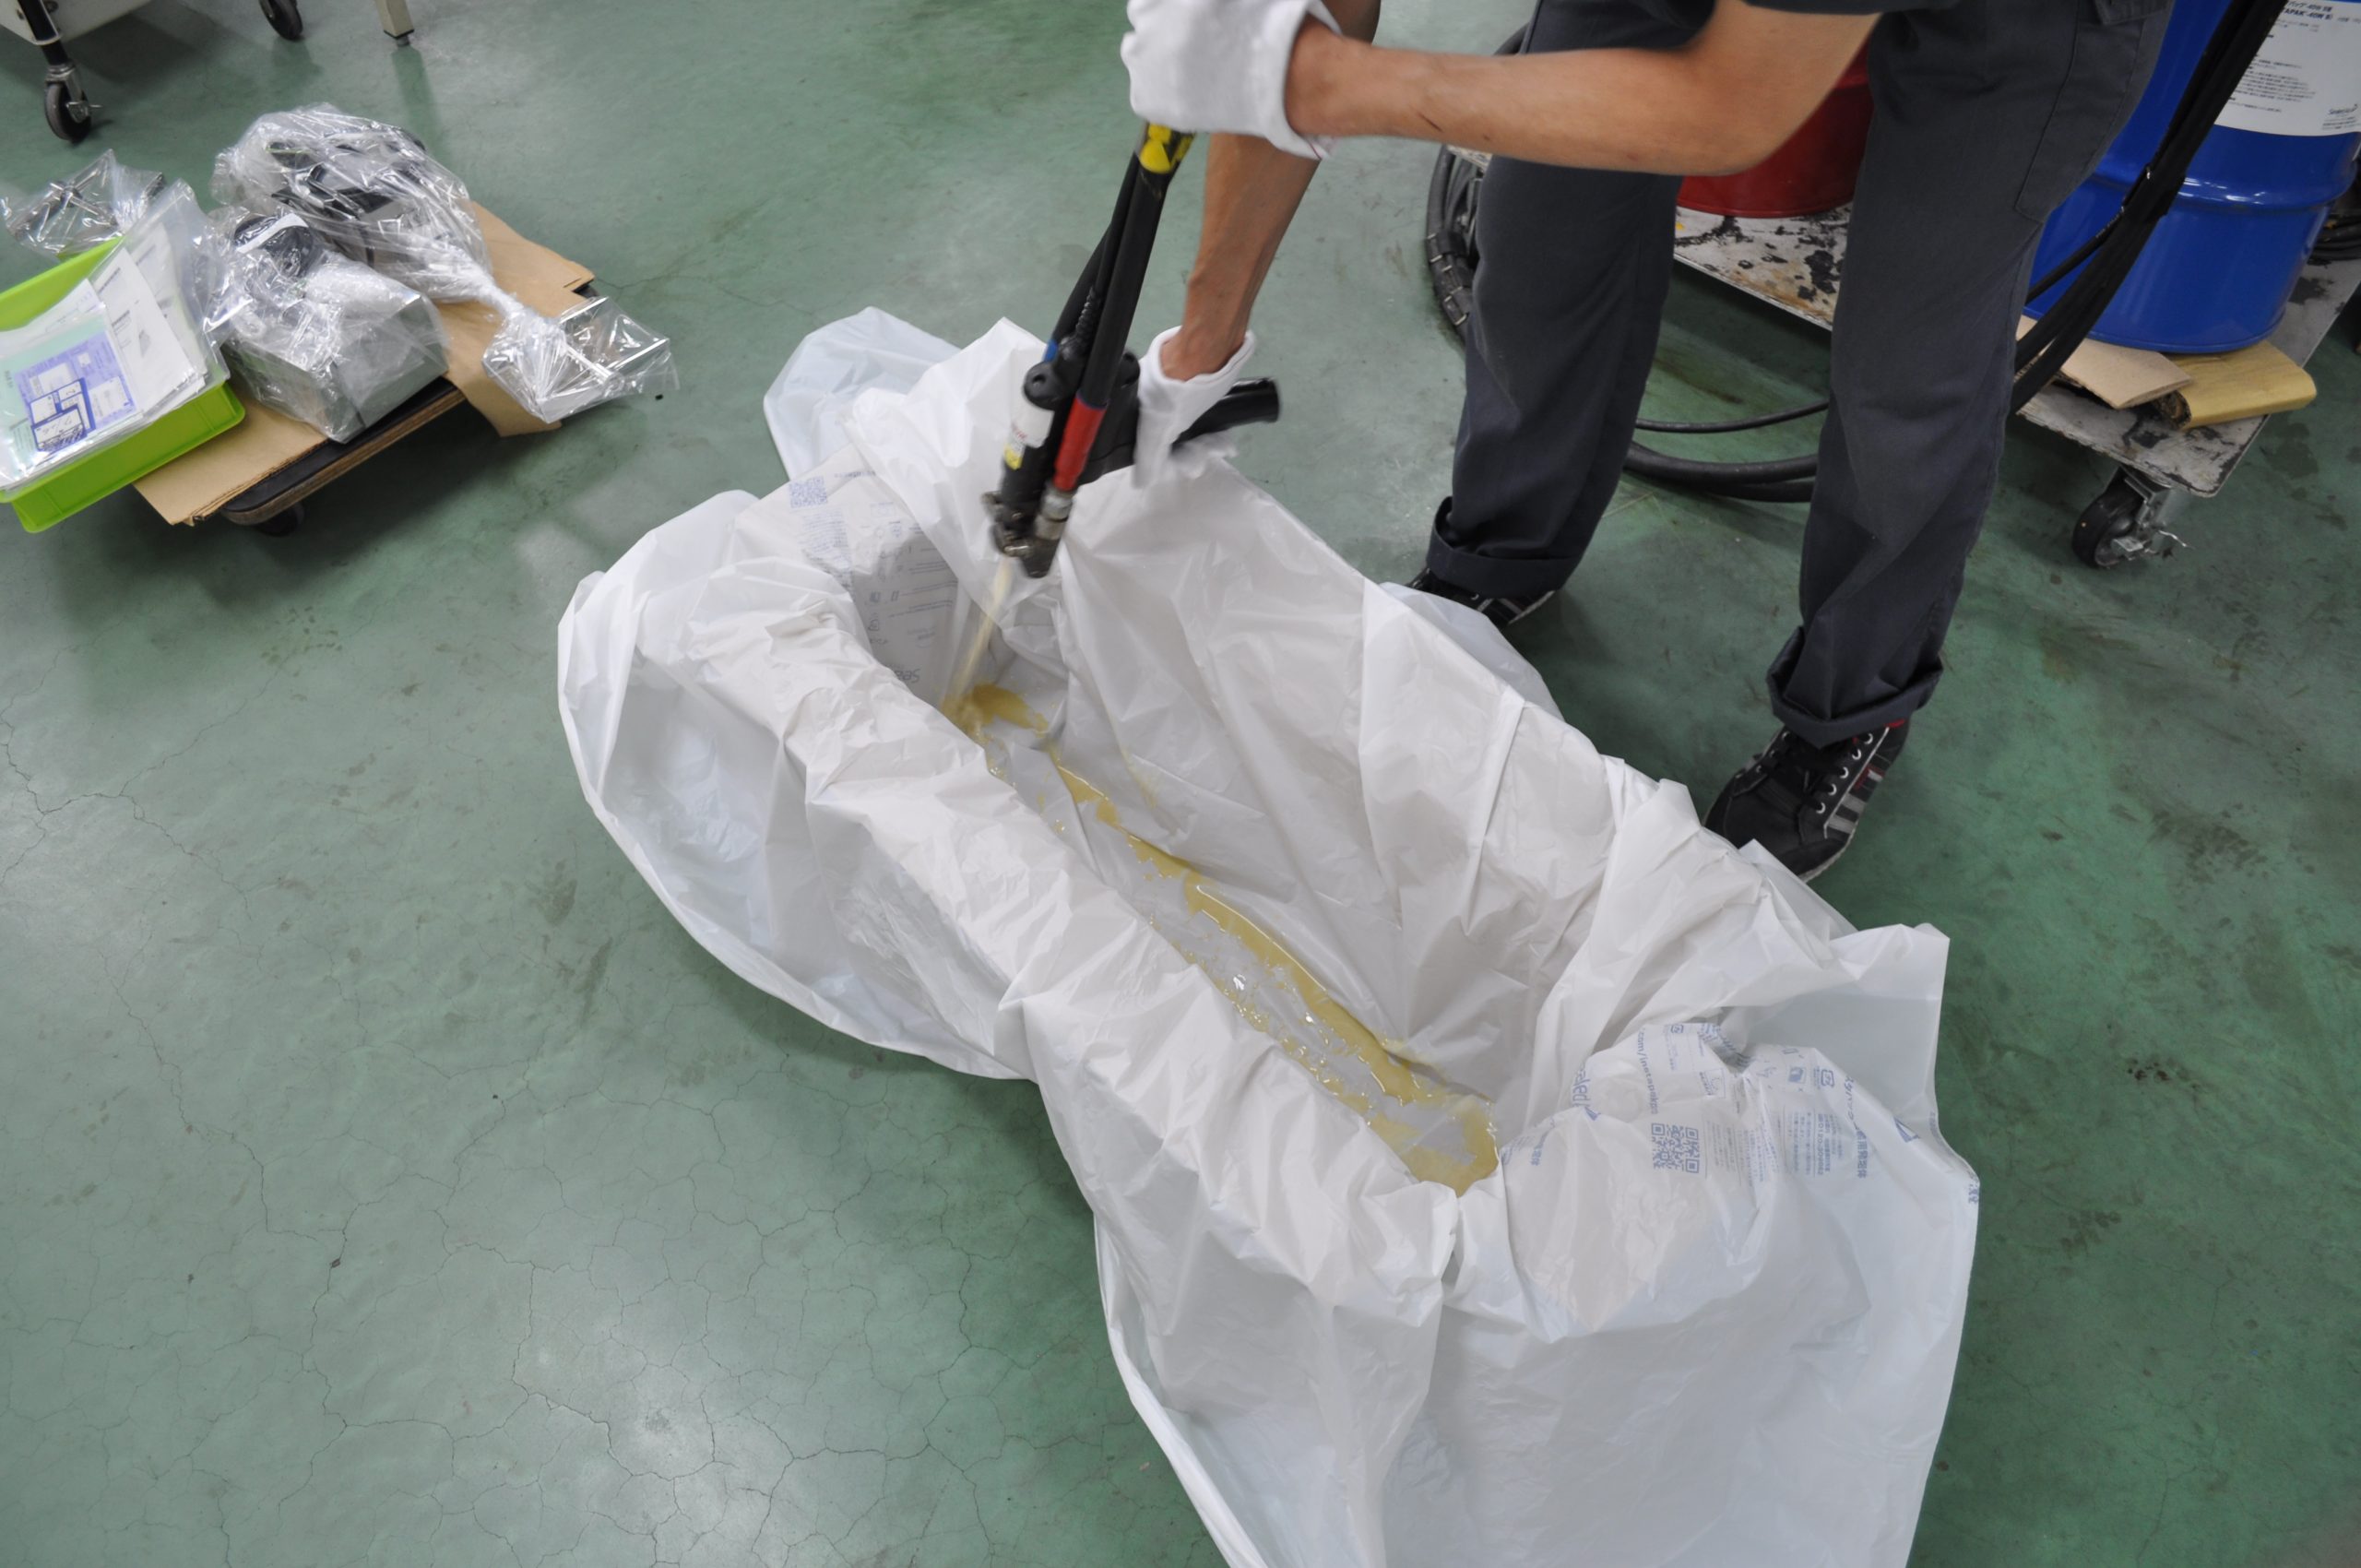
We use urethane foam to pack precision instruments and agitators. Because it is foamable, it can be formed into various product shapes and protects the product from impact during transportation.
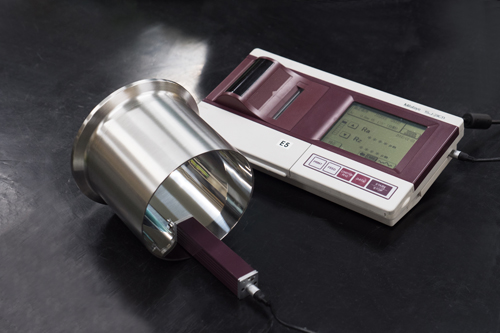
Measures the unevenness of the container surface. Various measurements such as Ra0.01 μm to 999 μm Rz and Rq are possible.
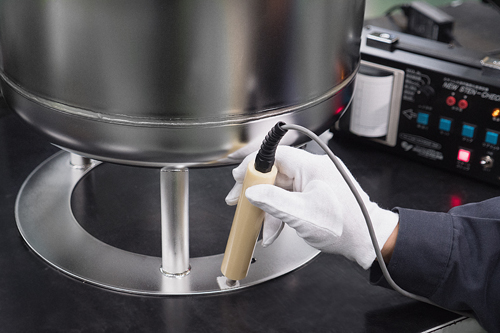
A measuring instrument that determines the presence or absence of a film. The passivation film on the surface of stainless steel is measured by the neutral salt electrolysis method.
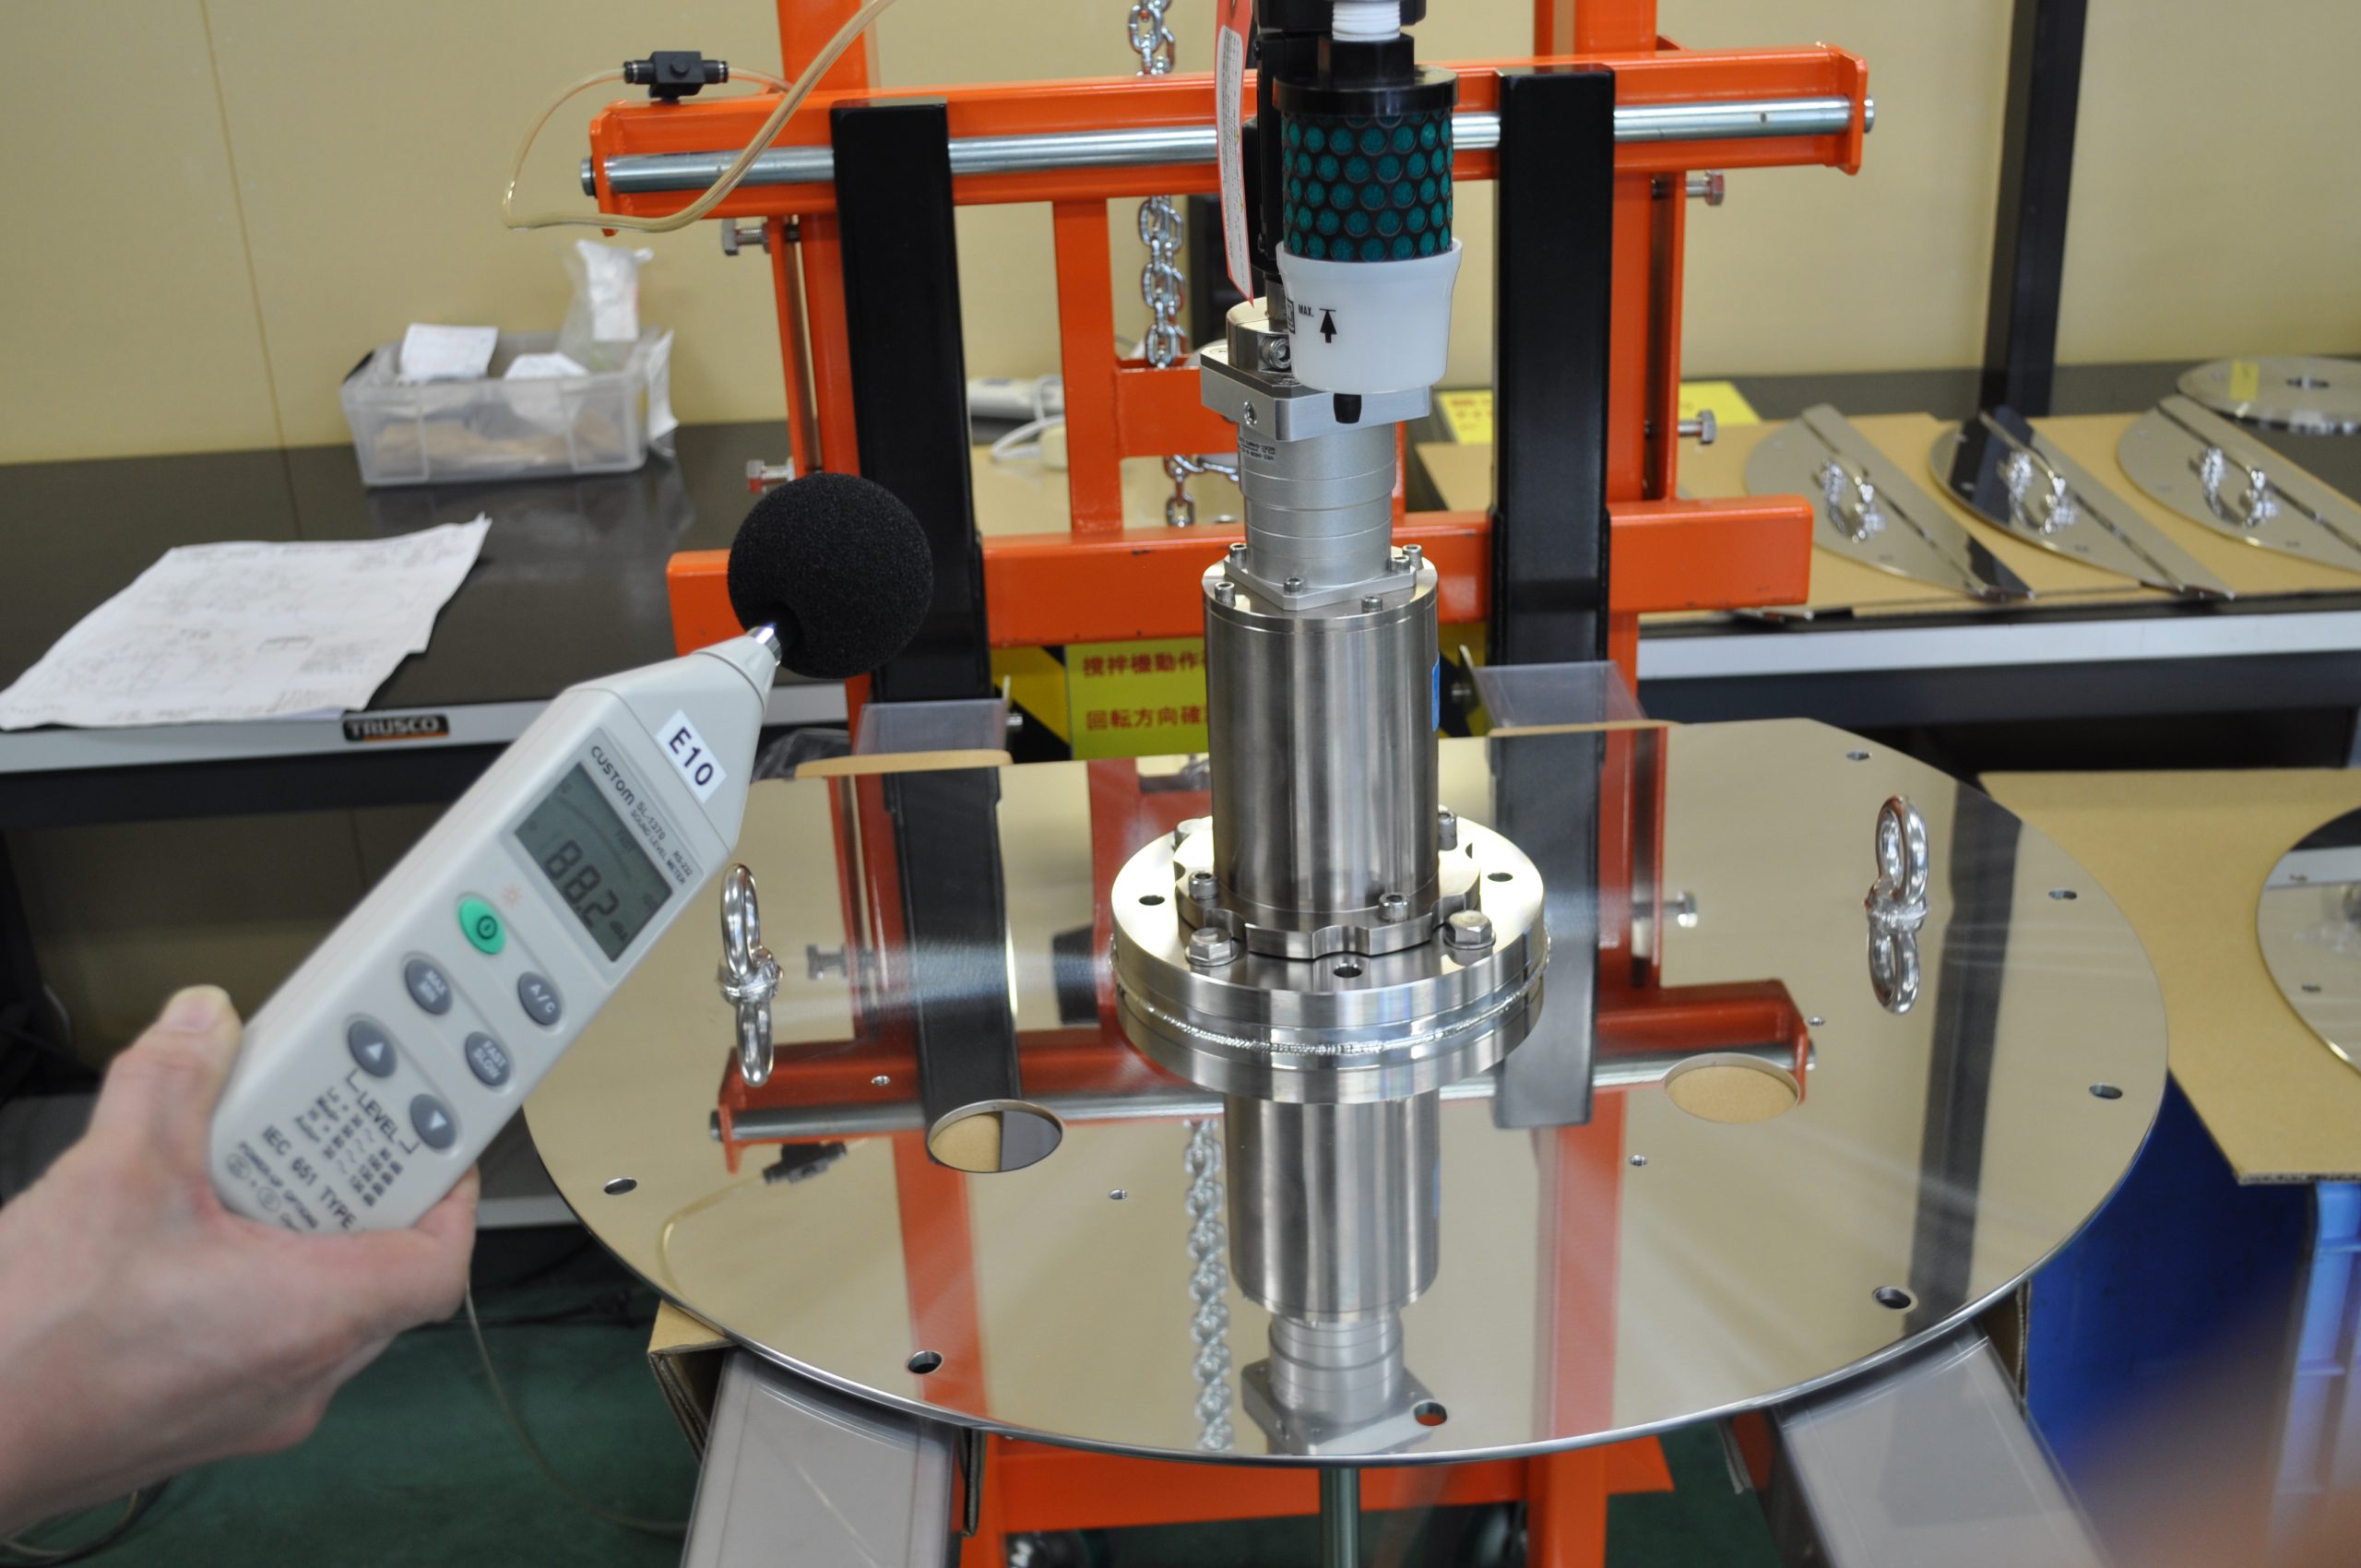
It is useful for quality control by measuring the operating noise of stirrers and other equipment.
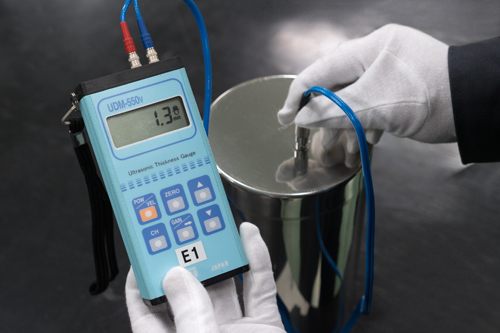
A plate thickness measuring instrument that uses ultrasonic waves to measure the plate thickness, which is important for pressurized containers. The measuring range is 0.7mm to 250mm. ±0.1 in the range of 0.7 to 100 mm, and ±0.5% in the range of 100.1 to 250 mm.
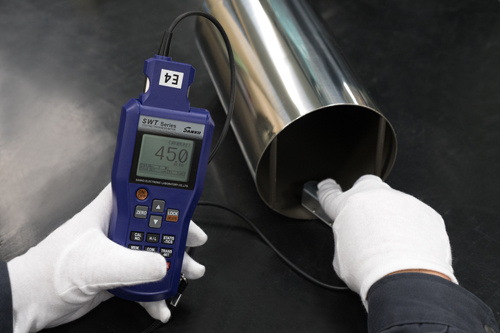
Coating thickness measuring device by eddy current. It corresponds to the measurement range from 1 μm to 999 μm.
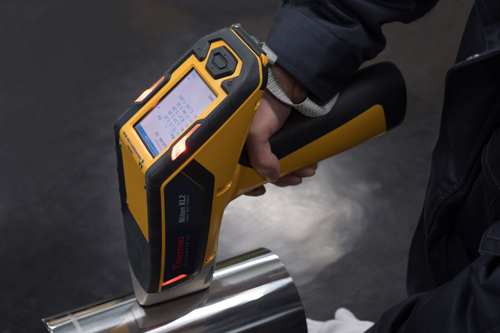
Used for component analysis of SUS304, 316, 316L, etc. The amount of molybdenum and other elements contained in stainless steel are measured using X-rays, which helps prevent contamination and quality control.
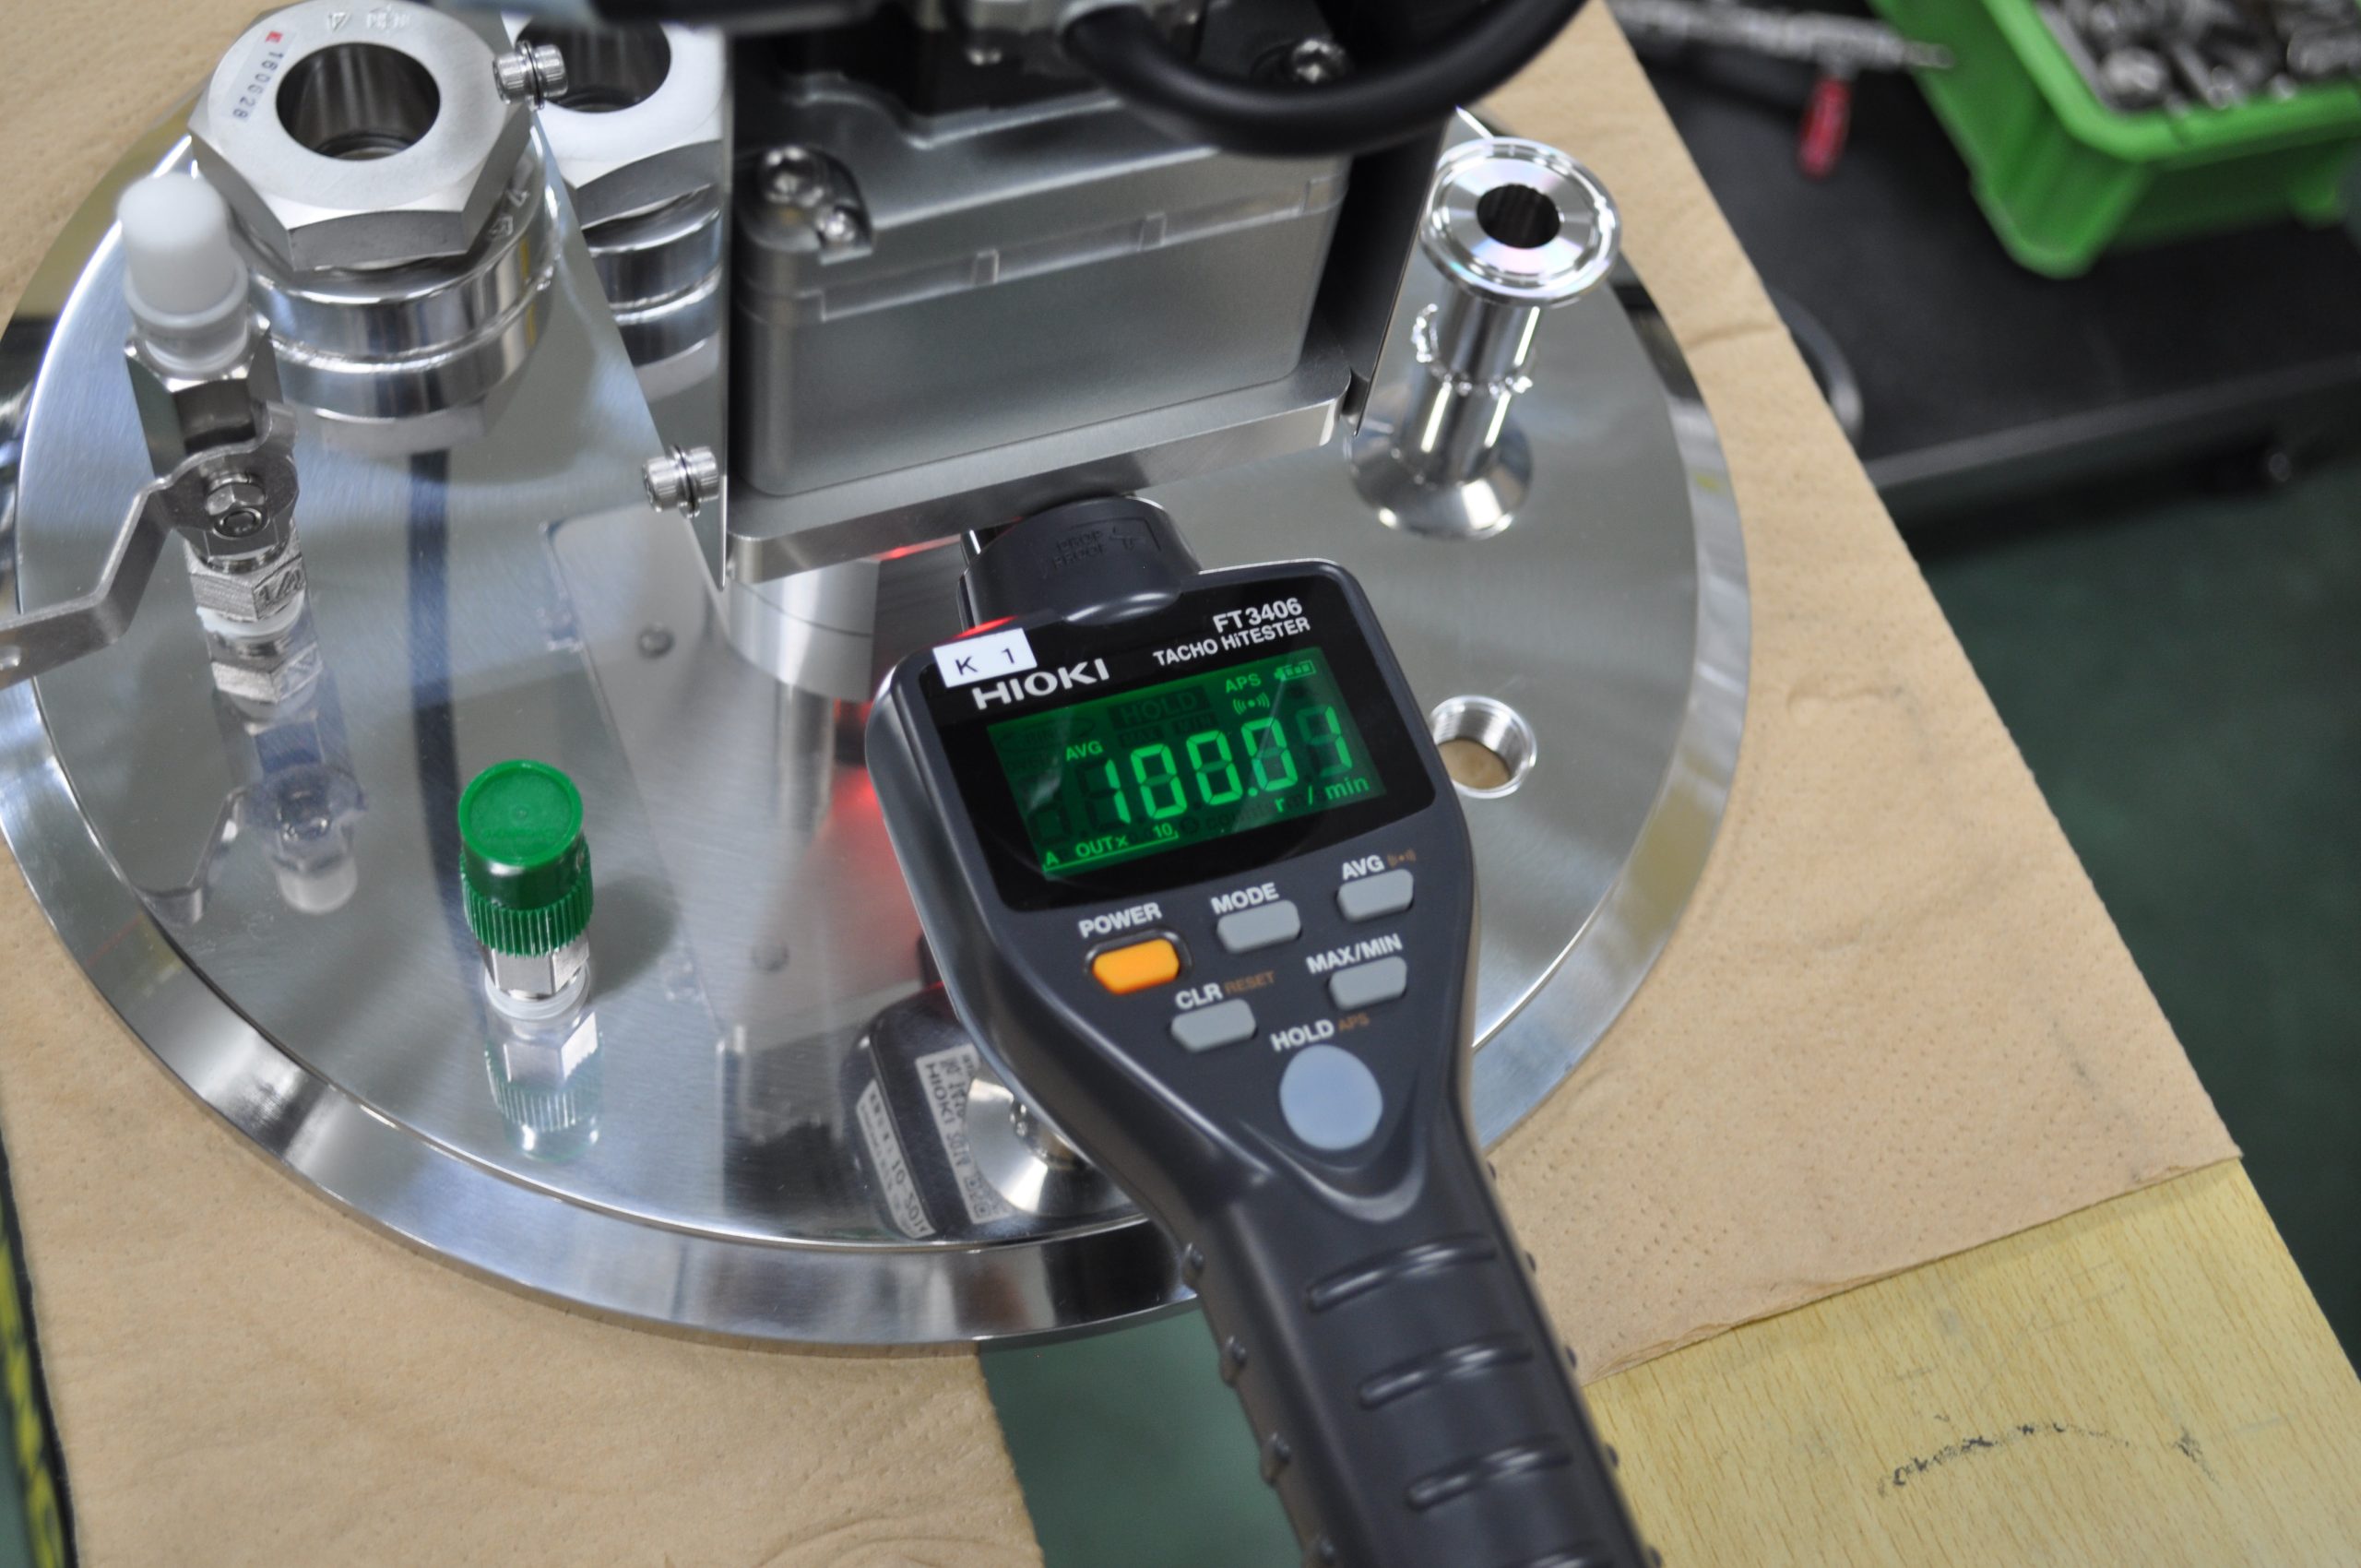
Non-contact tachometer. It is used to measure the rotation of the agitator.
News [See All]